Adding a Banner Image
An image at the top of your page can help identify your website; this is called a banner image. To add a banner image to the top of your website, click the Add Banner Image button under the Title and Navigation bar.

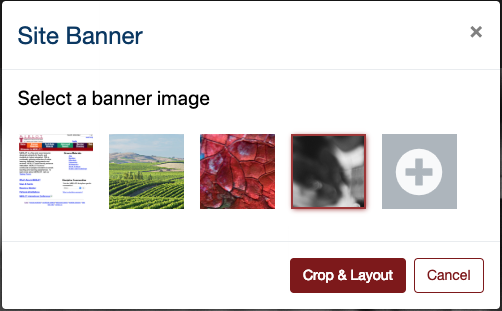
Either locate an image you’ve uploaded previously, or click the Plus (+) button to upload a new image you have stored on your computer. Next, click Crop & Layout to finalize the layout of the image.
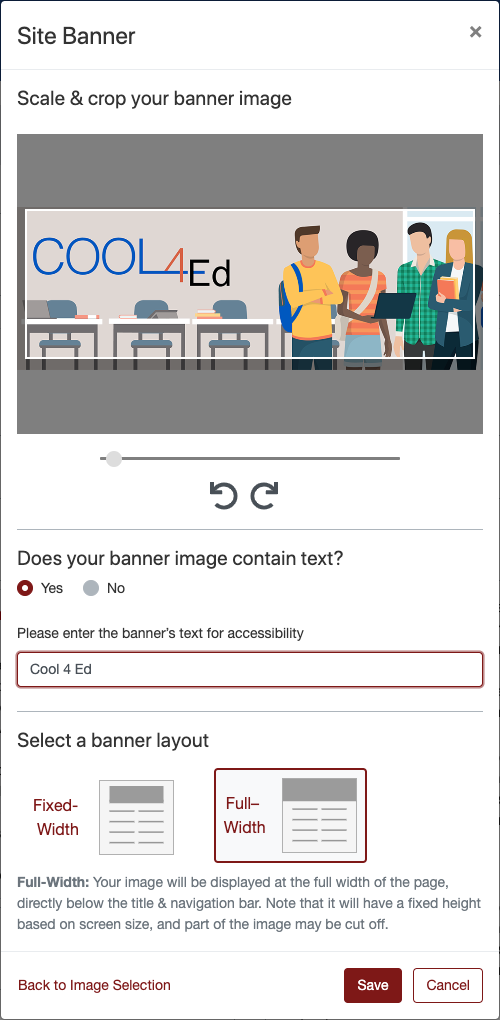
Using the crop tool allows you to size, rotate, and position the image in the predefined crop area as desired. If your banner image contains text, be sure to enter that text in the provided field for accessibility (this will become the "alt-text"). Select either a fixed-width or full-width layout and click Save. (See the images below for examples of each layout.) If you don’t want to crop the image, you still must click Crop & Layout and then click Save at the bottom of the next box.
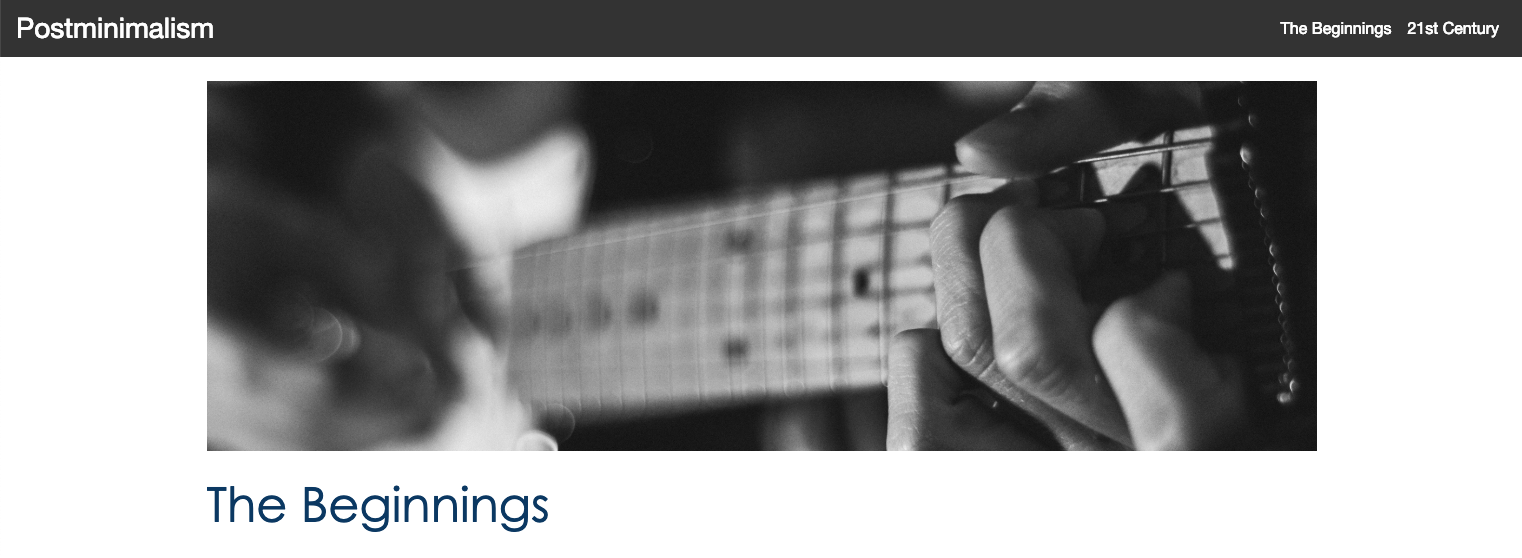
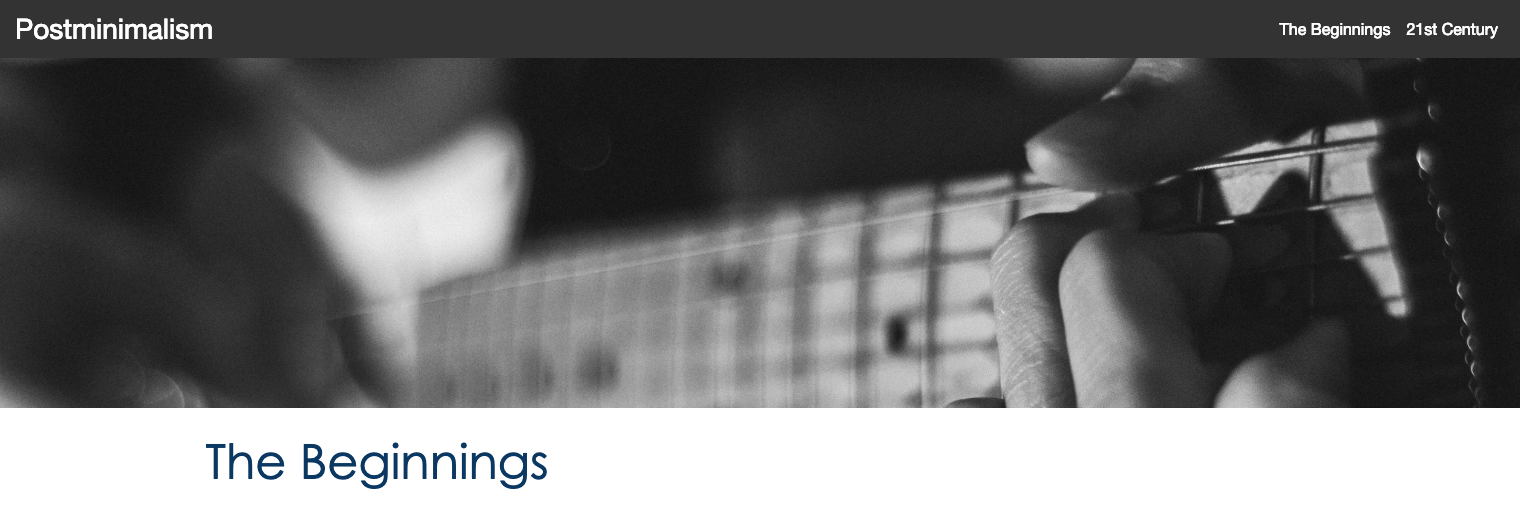
The following shows the difference between fixed-width and full-width banners as seen on a finished site:
Fixed-Width Banner
Full-Width Banner
To change a banner image, or to edit the crop or layout of the image, click on the Edit (pencil) icon at the top of the banner in the Design Center Canvas. Keep in mind that your original image can be edited again.